Did you know that you can print right on fabric with your home inkjet printer? You can! I’ve just done it and it works really well. I’ve used this simple technique here for these fun iron-on fabric labels that would be great for back-to-school!

Materials:
- cotton canvas fabric
- “Heat n Bond” iron-on adhesive (it comes in a sheet or roll)
- inkjet printer
- scissors & iron
Instructions:
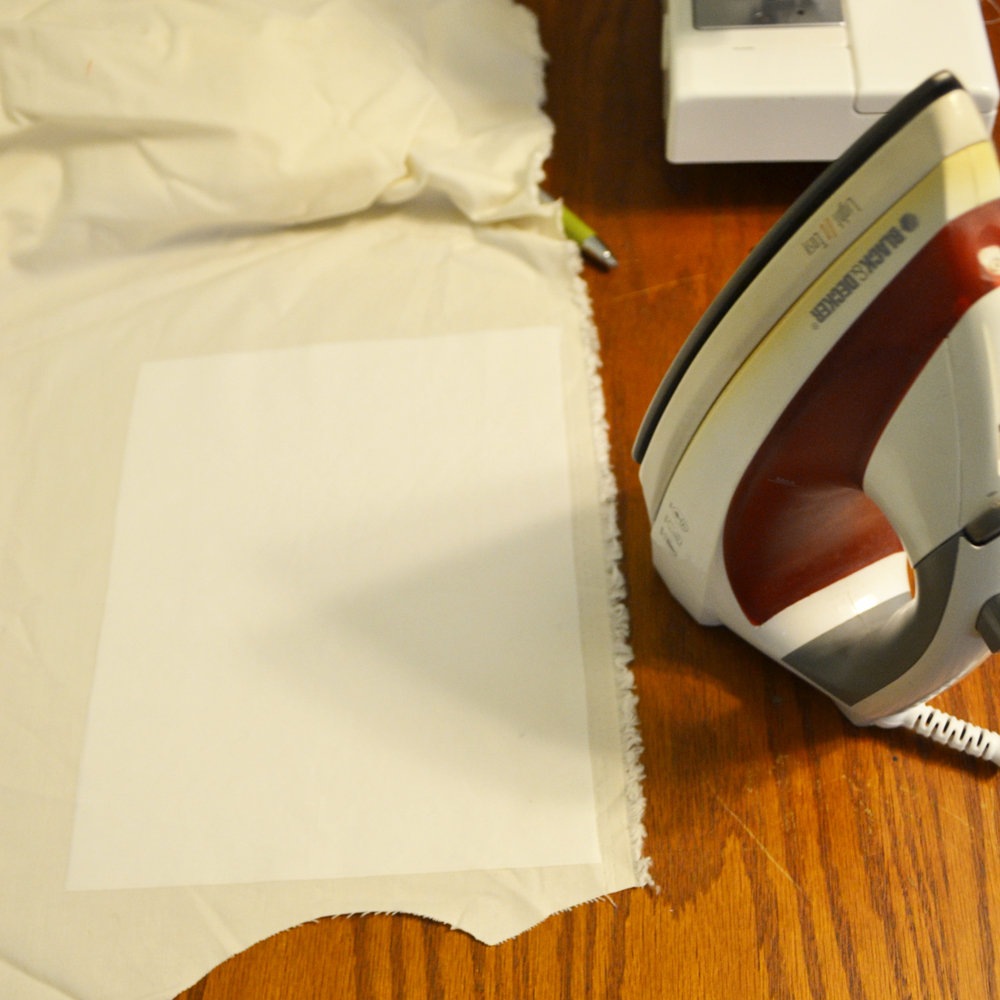
Cut a piece of the Heat n Bond into a standard letter paper size (8 1/2 ” x 11″) so that it will easily feed through your printer.
Fuse the Heat n’ Bond to the cotton canvas fabric with an iron on low heat (follow the directions on your Heat n Bond packaging). Trim the fabric to the size of the Heat n Bond.
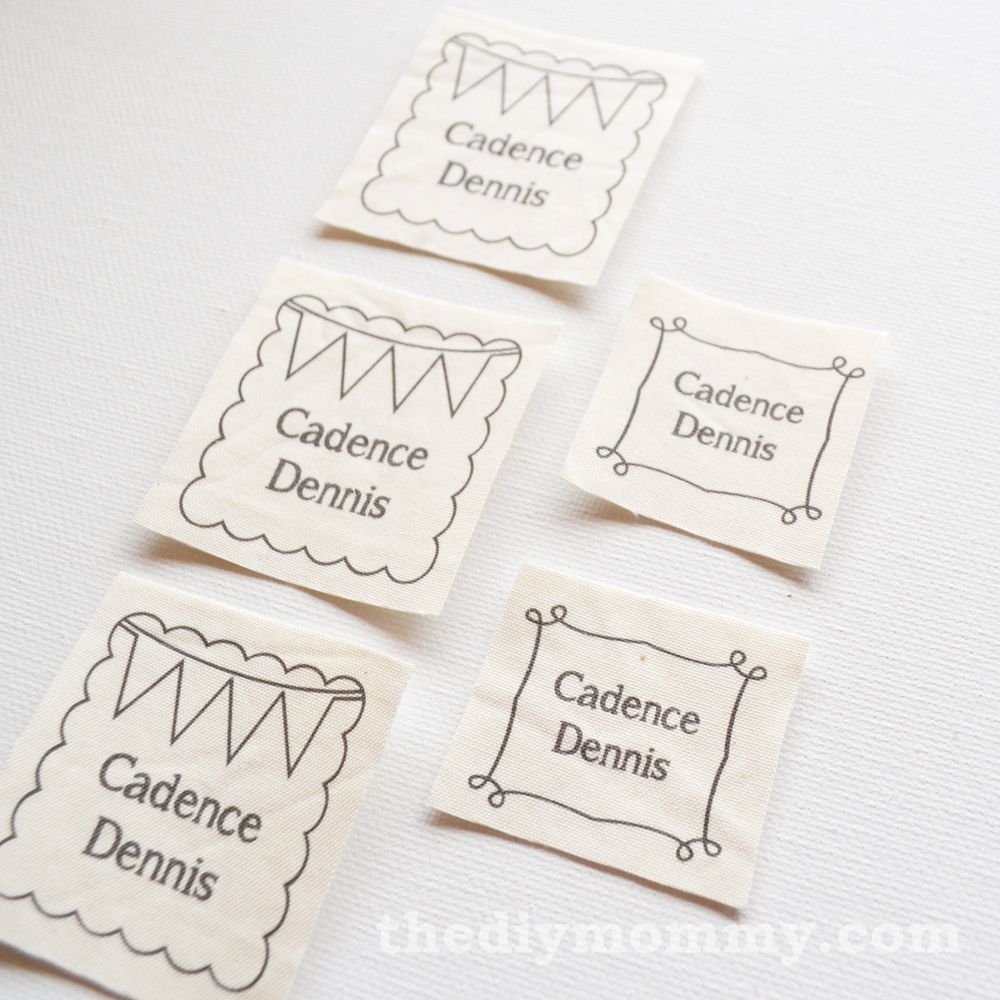
Set up your printer to print on a “cardstock” or “heavy paper” setting. Open this PDF of label artwork, and customize it with your child’s name: Iron-On Name Labels – Customizable – The DIY Mommy

Place the fabric in your printer’s feed tray, set it up to print, and as the document is printing ensure the fabric feeds evenly through the printer (you may have to steady it with your hand as it prints).
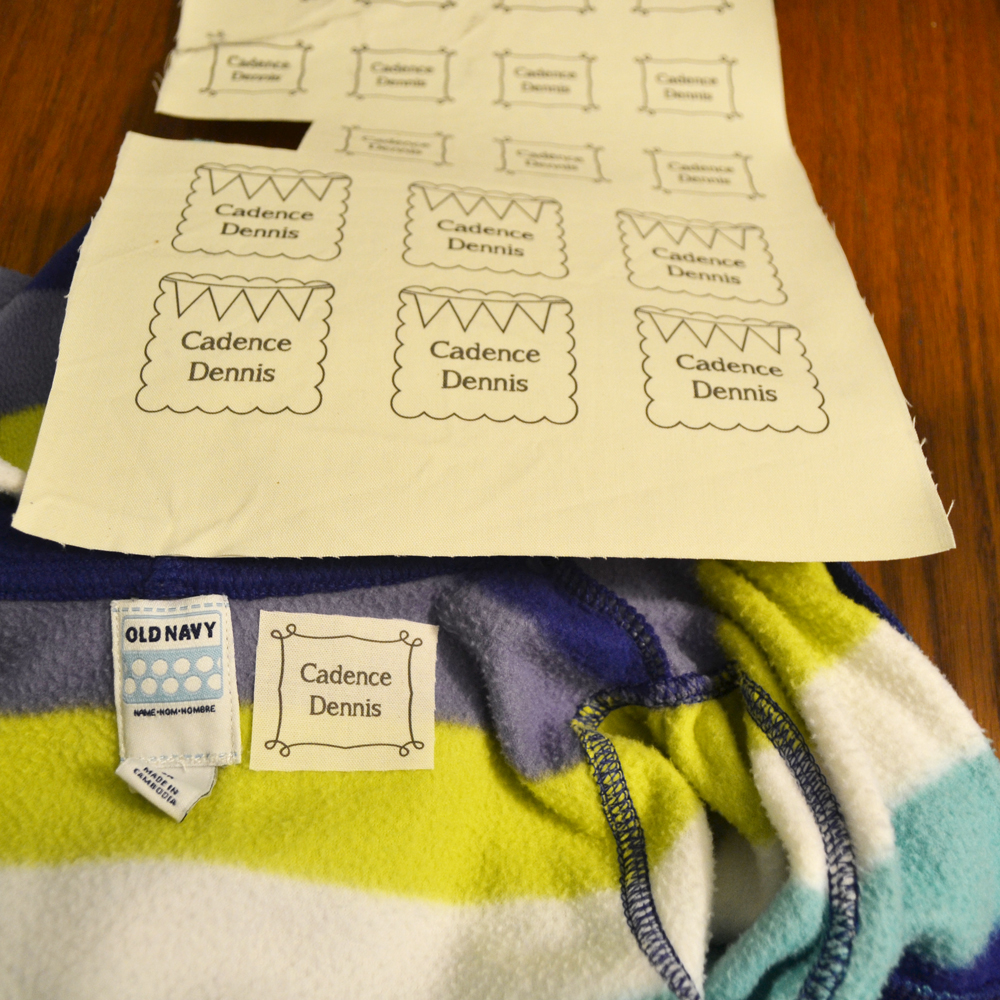
Let the fabric dry for at least an hour, and then cut the labels to size.To adhere the labels to a garment, peel off the paper backing of the Heat n Bond, and then fuse the labels to the garment with an iron on a low setting. Be especially careful if you’re fusing the labels to a polyester fabric like fleece – an iron that’s too hot will melt the fabric!

These iron-on labels would also work great for natural-fibered backpacks, pencil cases, blankets and more! For extra security, you could also sew around the label once it’s ironed on.